
Last updated November 20, 2026
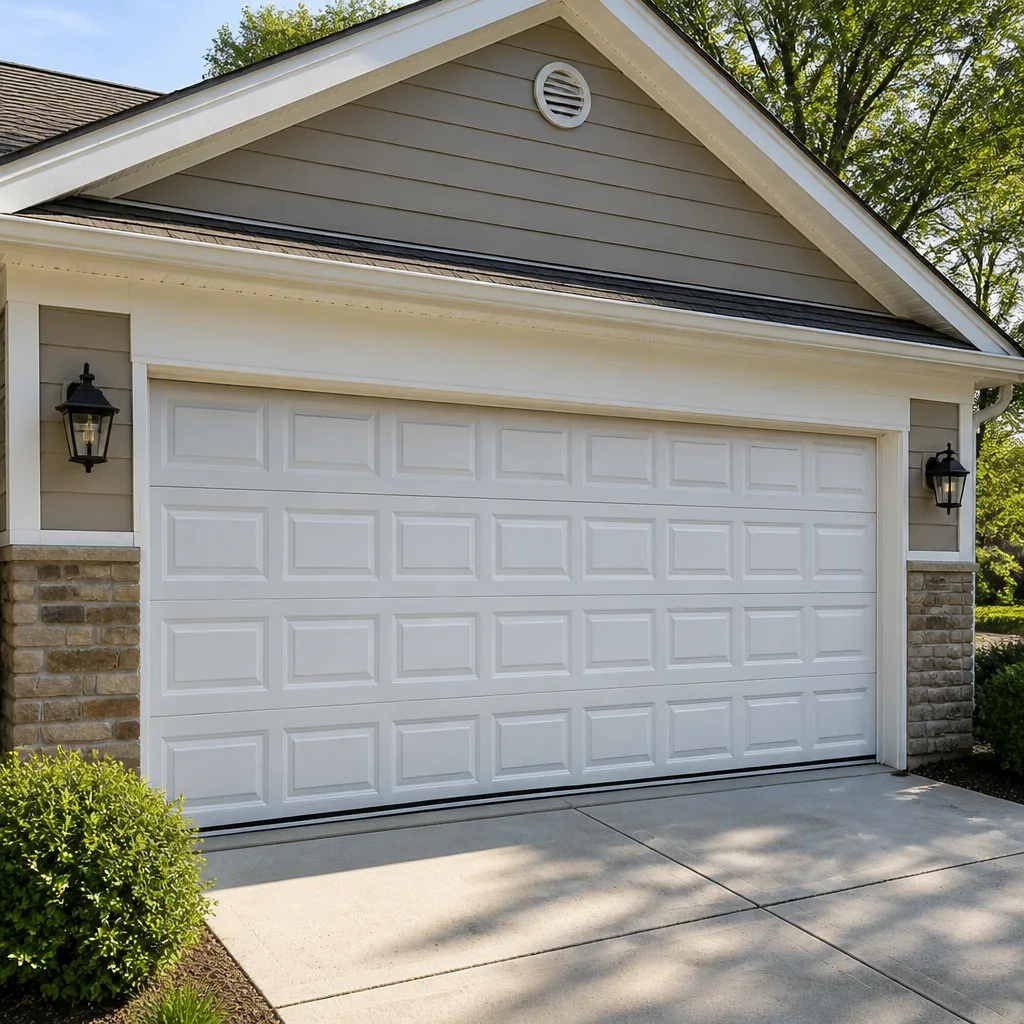 Raised-panel steel
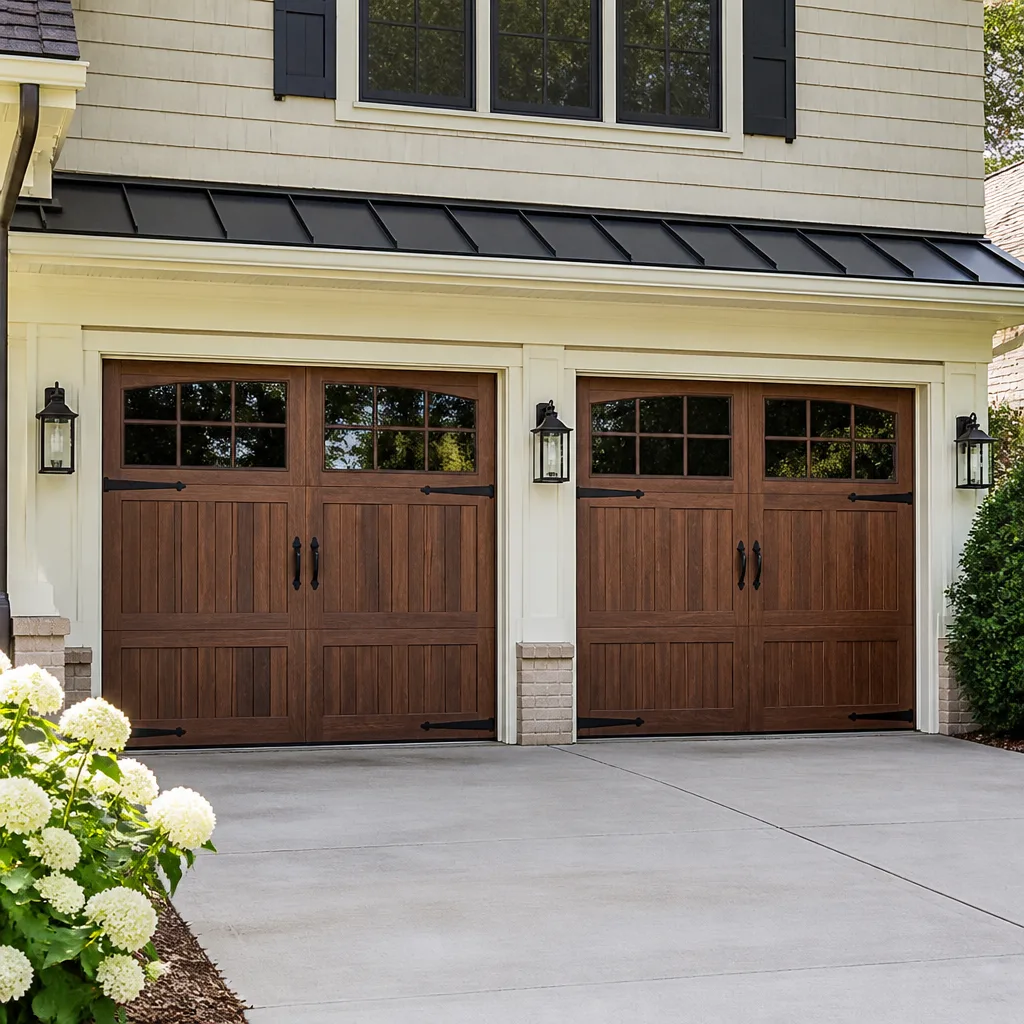 Carriage house
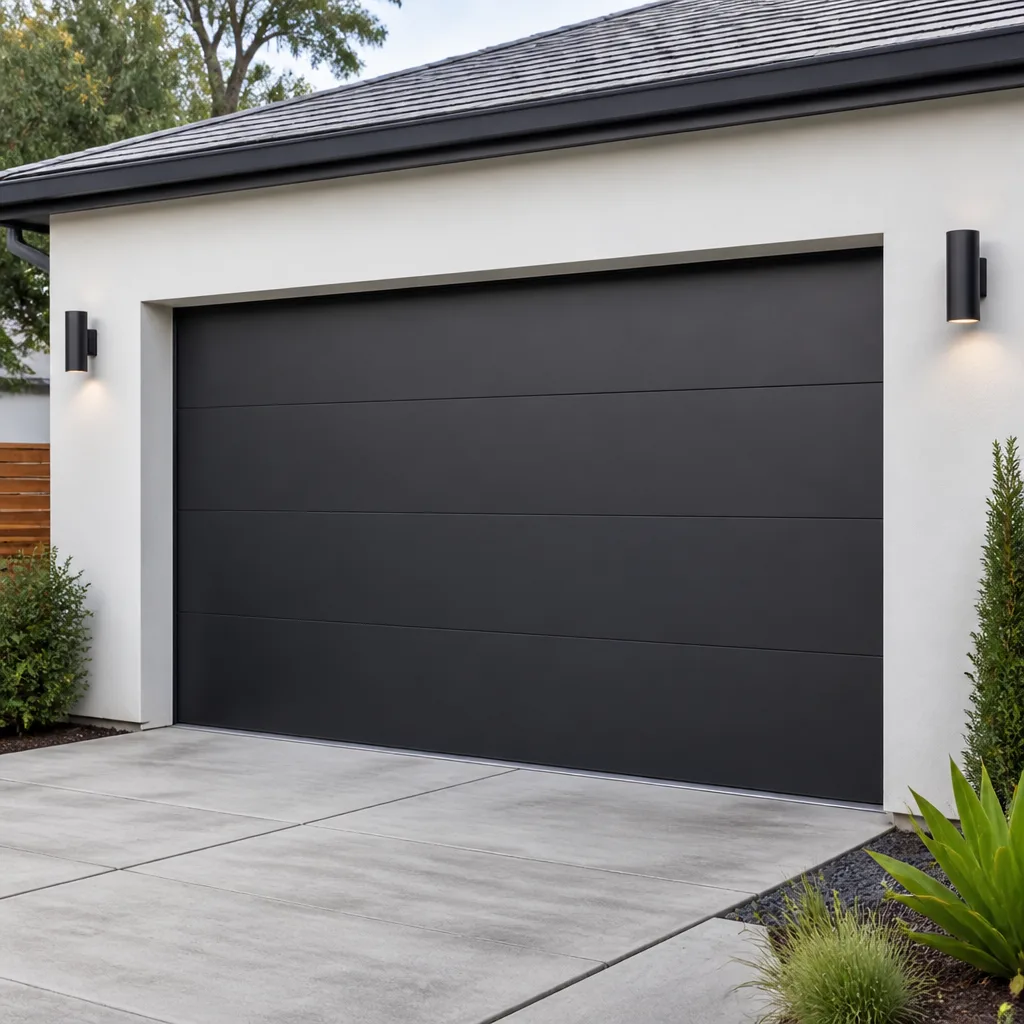 Modern flush
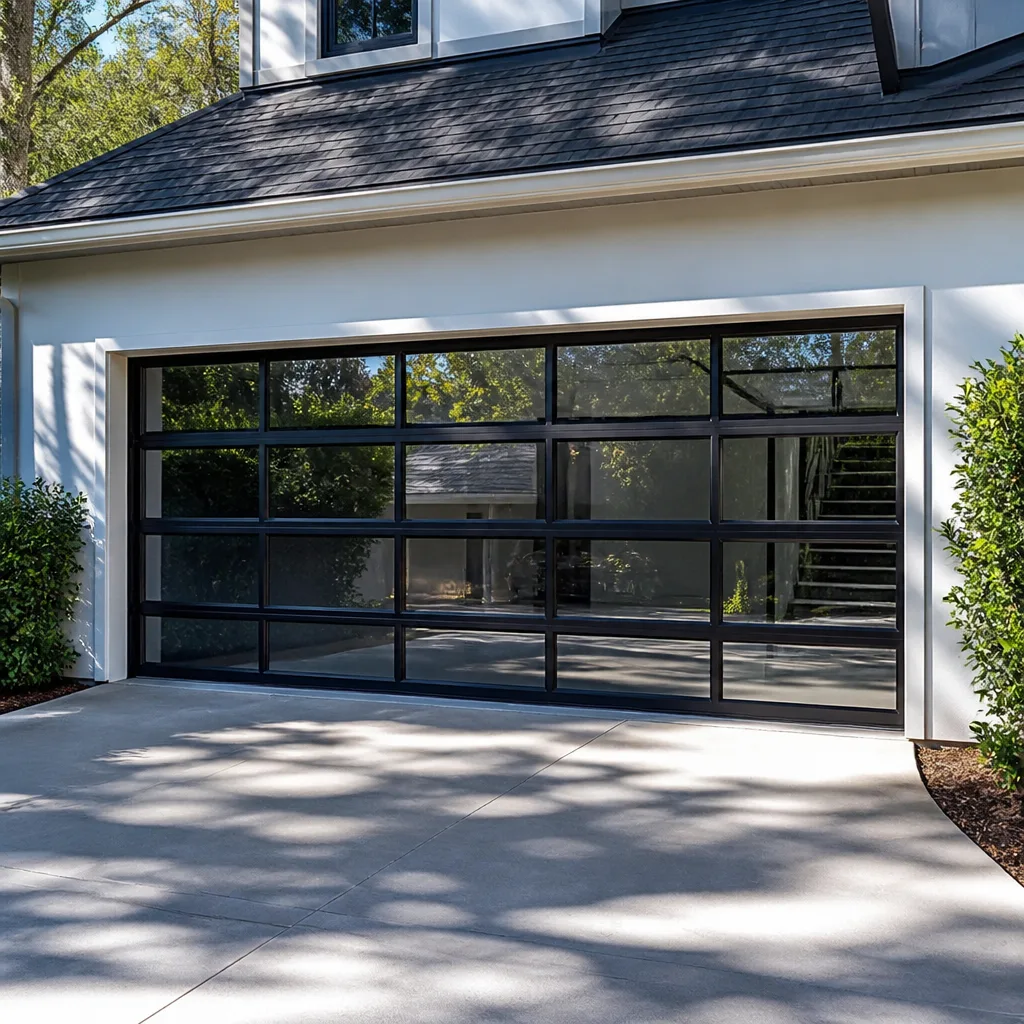 Full-view glass
 LiftMaster openers
 Chamberlain openers
Full 25-point door and opener safety check with every visit - springs, cables, rollers, tracks, and your LiftMaster or Chamberlain opener included
You get a price before we start. It does not change when the pro arrives.
Get your free estimateGarage Door Repair Maintenance Checklist for Dorchester Homeowners
Most garage door maintenance advice gets the timing wrong. It tells you to lubricate twice a year and call it done, which ignores what actually wears a door out in Dorchester. Here, the real damage happens in two windows: late winter, when road salt and slush sprayed up from the street settle into bottom brackets, hinges and the torsion shaft, and spring thaw, when freeze-thaw cycles work metal and seals back and forth until something gives. A checklist aligned to those stresses beats a calendar-based one every time. This guide walks through what to inspect, when, which parts you can safely handle, and which ones need a trained technician. We’ll also cover the CPSC force-limit test, the right lubricant for each component, and how to keep a maintenance log a technician can actually use.
Quick Answer
A garage door maintenance checklist for Dorchester should be timed to New England conditions: a post-winter salt and corrosion inspection in early spring, a lubrication and balance check before the heating season, and a monthly safety test of the auto-reverse and force limits. Homeowners can safely handle lubrication, visual inspection and cleaning; spring, cable, and electrical work belong to a trained technician.
Styles & brands we work with
- Raised-panel steel
- Carriage house
- Modern flush
- Full-view glass
- LiftMaster openers
- Chamberlain openers
Table of Contents
- Why Dorchester Garages Wear Differently
- The Seasonal Maintenance Calendar
- The Post-Winter Salt Inspection Protocol
- What You Can Service vs. What Requires a Technician
- Testing Auto-Reverse and Force Limits the Right Way
- Lubrication by Component Type
- Keeping a Maintenance Log That Helps
- When to Call a Professional
Why Dorchester Garages Wear Differently
The single biggest cause of premature spring failure in New England garages isn’t age. It’s corrosion, and in Dorchester the corrosion load is heavier than in most of the country. Streets here get salted and sanded through the winter, and every time a car pulls into a driveway, spray carries that salt onto the door’s bottom section, the bottom brackets, the hinges and the torsion shaft. Those components don’t get wiped down the way a car does. Salt sits on them, pulls moisture out of the air, and starts eating the metal. A torsion spring that would last years in a dry climate can fail noticeably sooner when its coils are pitted.
The second stress is thermal. Dorchester swings between hard freezes and mild thaws repeatedly through late winter and early spring. Metal contracts and expands with each cycle. Wood and composite door panels swell and shrink. Rubber bottom seals stiffen in the cold, crack, and then let in water when the thaw comes. This freeze-thaw rhythm is harder on hardware than a steady cold would be.
Older housing stock adds a third factor. Many Dorchester garages were built for cars that were smaller and lighter, with narrower openings and lighter-gauge hardware than a modern door uses. When a heavier modern door or a smart opener gets fitted to that structure, the springs and tracks carry more load than they were designed for. That doesn’t mean those garages can’t be upgraded, but it does mean the hardware deserves a closer look each year than a newer build would.
None of this is a reason to panic. It’s a reason to inspect on a schedule that matches the actual wear pattern instead of a generic one.
The Seasonal Maintenance Calendar
A maintenance calendar only works if it lands at the right moment. Here’s how we’d time it for a Dorchester garage, aligned to the local climate rather than a generic “twice a year” rule:
- Early spring (after the last salt application): Full post-winter inspection. Focus on corrosion, bottom seals, hinges and torsion hardware. Clean and lubricate. This is the most important inspection of the year here.
- Late spring: Balance test and safety-reverse test. Check that the door opens and closes evenly and that the opener’s safety features work.
- Midsummer: Quick visual pass. Look for loose bolts, frayed cables, worn rollers. Heat can make some lubricants migrate, so reapply where needed.
- Early fall (before the first freeze): Pre-winter prep. Lubricate seals and weatherstripping so they don’t stiffen and crack. Test the opener’s force limits, since cold weather increases resistance.
- Monthly, year-round: The CPSC auto-reverse and force-limit test. Takes about two minutes.
You’ll notice the heaviest work happens in spring, not fall. That’s deliberate. By the time the salt season ends, your hardware has taken its biggest hit of the year. Waiting until fall to address corrosion means the damage has had months to worsen.
If you’d rather have a trained eye do the spring inspection, that’s a sensible use of a service call. Our technicians have up to 12 years of experience with the brands that dominate Dorchester garages, including LiftMaster, Chamberlain and Clopay systems, and we can catch wear that’s easy to miss on a visual pass.
The Post-Winter Salt Inspection Protocol
This is the step almost every generic checklist skips. When the salt trucks stop running for the season, your garage door’s lower hardware has been bathed in brine for months. Here’s what to check, in order:
- Bottom seal and bottom section. Run a hand along the rubber seal at the base of the door. Look for cracking, stiffness, or gaps where it meets the floor. Salt and grit get trapped there. A stiff seal lets water in and can also break the door’s seal against drafts.
- Bottom brackets. These are the metal brackets at the lower corners where the lift cables attach. Look for rust bloom, pitting or white corrosion residue. Wipe them down with a damp cloth and dry thoroughly, then apply a light lubricant.
- Hinges. Inspect each hinge along the door’s seams. Salt spray tends to collect at the lower hinges first. Look for rust, loose screws or bent plates. Lubricate the pivot points, not the screw threads.
- Torsion shaft and springs. Look (from a safe distance, never touching) for rust on the coils and shaft. Surface rust on a spring is a warning sign, not cosmetic. If you see heavy pitting or flakes, that’s a call-a-technician situation.
- Tracks and rollers. Wipe down the tracks with a damp cloth to remove salt residue and grit. Check rollers for flat spots or cracking.
- Weatherstripping and thresholds. Check the seals around the door’s perimeter. Cold and salt make them brittle.
This protocol takes maybe twenty minutes and is entirely safe for a homeowner as long as you stay away from the springs and cables under tension. If you skip it, the corrosion you can’t see is the corrosion that ends up causing a spring failure or a snapped cable later.
What You Can Service vs. What Requires a Technician
Knowing where the line is protects both your door and your body. Here’s the split:
Safe for homeowners
- Lubricating hinges, rollers, tracks and the torsion shaft (the shaft itself, not the springs under tension)
- Cleaning salt and grit from the bottom seal and brackets
- Visual inspection of springs, cables and hardware (looking, not touching)
- Testing the auto-reverse and force limits
- Tightening loose bolts on the door panels and track brackets (hand tools only)
- Replacing the opener’s battery or reprogramming remotes
Requires a trained technician
- Spring replacement or adjustment. A torsion spring under tension stores enormous energy. If it releases unexpectedly, it can cause serious injury. Never attempt to wind, unwind or replace a spring yourself.
- Cable replacement or adjustment. Cables are under tension too, and a snap can whip with force. Leave these to a technician.
- Opener electrical work. Anything that involves opening the opener’s housing or touching live wiring is a job for someone trained on the system and its safe handling.
- Track realignment after a bend. A bent track can cause the door to bind, and forcing it can damage panels or hardware.
- Roller replacement on a door under tension. Some rollers can be changed safely; others can’t, depending on the door’s design.
The reason is simple: springs and cables store energy that can release in an instant. Even a door that looks “just sitting there” is holding tension. If you’re ever unsure whether a part is under load, treat it as a technician job. When you need garage door repair, a trained tech will assess what’s safe to handle and what needs proper tools.
Testing Auto-Reverse and Force Limits the Right Way
The vague instruction “place a board under the door” doesn’t tell you what to look for or whether the result passed. The CPSC has a specific method, and it’s worth doing properly once a month. Here’s the correct procedure:
- Open the door fully using the wall control, then let it stop.
- Place a 2×4 board flat on the floor in the middle of the doorway, centered under the door.
- Close the door using the wall control or remote.
- Watch what happens when the door contacts the board. The door should reverse direction within about two seconds of contact and return to the open position. If it stops without reversing, or if it reverses too late, the force limit or the safety reverse is out of adjustment.
- Test the photo-eye (if equipped). With the door open, wave an object (not your hand) in front of the safety sensor on one side. The door should not close, or should reverse immediately if it’s already closing.
- If either test fails, stop using the opener and have it serviced. A door that doesn’t reverse on contact is a real hazard, especially in a household with kids or pets.
Force limits and safety reverse are adjusted on the opener itself, and the exact procedure varies by brand. If you’re not sure how to adjust yours, the manual for your LiftMaster, Chamberlain or Genie unit will tell you, and a technician can do it in a few minutes. This is also a good time to check the opener’s manual-release cord: with the door closed, pull it and confirm the door can be operated by hand. If it’s too heavy to lift, the springs may be losing tension, and that’s a sign to call for garage door opener repair or a spring check.
Lubrication by Component Type
Here’s where the wrong product can do real damage. The right lubricant depends on the material, and using the wrong one can shorten a component’s life rather than extend it.
- Nylon rollers: Use a silicone-based lubricant, or none at all. Petroleum-based lubricants and WD-40 can degrade nylon and make it brittle. Nylon rollers are designed to run dry or with a light silicone spray.
- Steel rollers and bearings: A lithium or white grease works well on the bearing surfaces. Don’t over-apply, since excess grease attracts grit.
- Hinges and pivot points: A light machine oil or silicone spray on the pivot, not the screw threads. Wipe off excess.
- Torsion shaft: A light coat of white grease or silicone on the shaft keeps the springs from binding, but never lubricate the spring coils themselves in a way that traps grit.
- Tracks: Don’t grease the tracks. Clean them with a damp cloth. Grease in a track attracts dirt and grit and makes the door harder to operate.
- Bottom seals and weatherstripping: A silicone spray or a product made for rubber seals keeps them pliable through cold weather. Petroleum products can dry rubber out.
The single most common mistake we see is spraying WD-40 on everything. WD-40 is a solvent and light lubricant, not a long-term protectant, and it’s especially hard on nylon. If you keep one product on hand for the whole door, make it a silicone-based spray, and use it sparingly.
Keeping a Maintenance Log That Actually Helps
A log isn’t busywork. When something fails between service visits, a good record tells the technician where to look first and saves diagnostic time. Here’s what to log:
- Date and what you did (e.g., “April 2026: cleaned bottom brackets, lubricated hinges and rollers”).
- Any sounds or symptoms you noticed, even if you couldn’t place them. “Slight rattle on the left side when closing” is useful. So is “door seemed slower to open in cold weather.”
- The brand and model of your door and opener, if you know them. This matters for parts and for scheduling the right technician. If you don’t know, note it and a tech can identify it.
- Any adjustments made to the force limit or safety reverse, and when.
- When a professional last serviced the door, and what was done.
Keep the log on the wall next to the opener or in a note on your phone. The next time you call for service, the log gives the technician a head start, and it also helps you track how the door’s behavior changes over time. A door that’s gradually gotten louder over six months is telling you something, and the log makes that pattern visible.
If you’re ready to have the maintenance done professionally, or you’ve found a problem the log points to, we can help. New doors and opener upgrades are scheduled after a free measure and written price, and we can quote garage door installation if your current door is past the point of repair.
See the difference
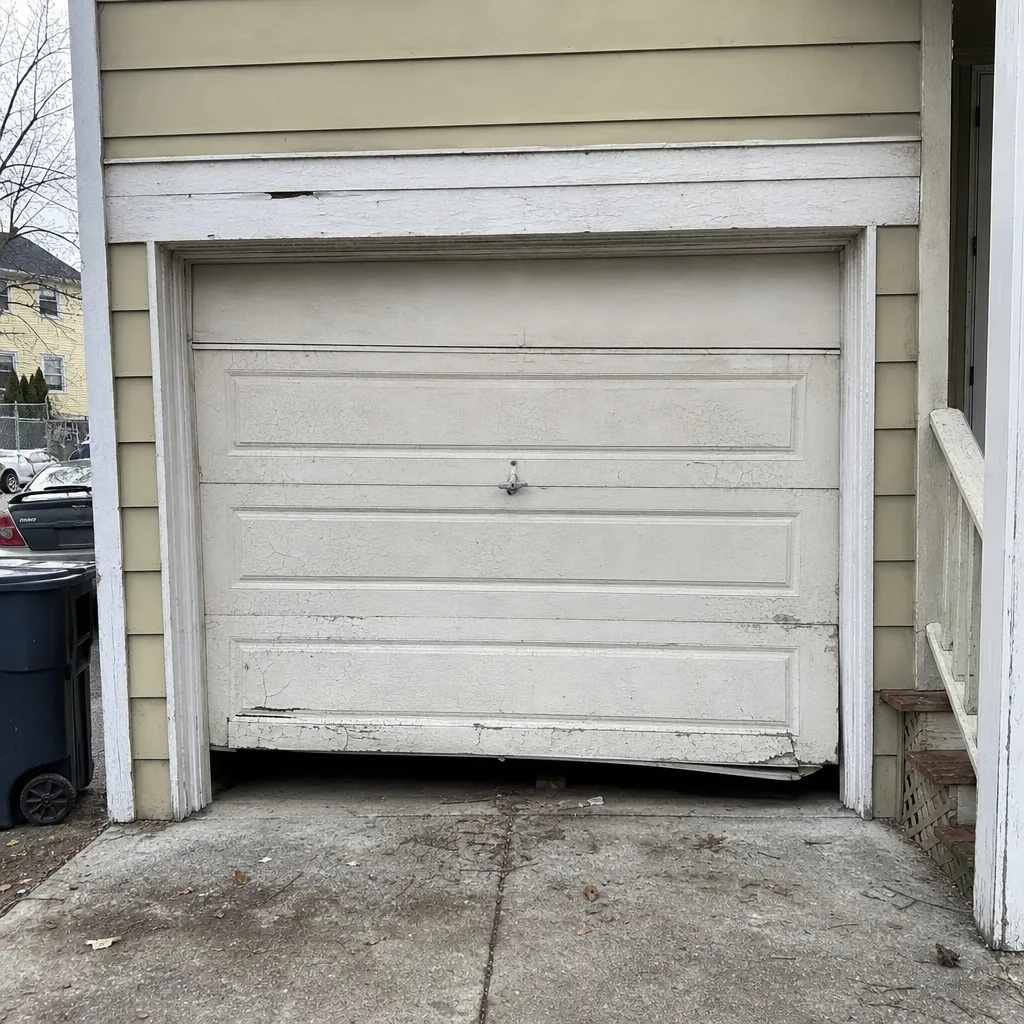 Before
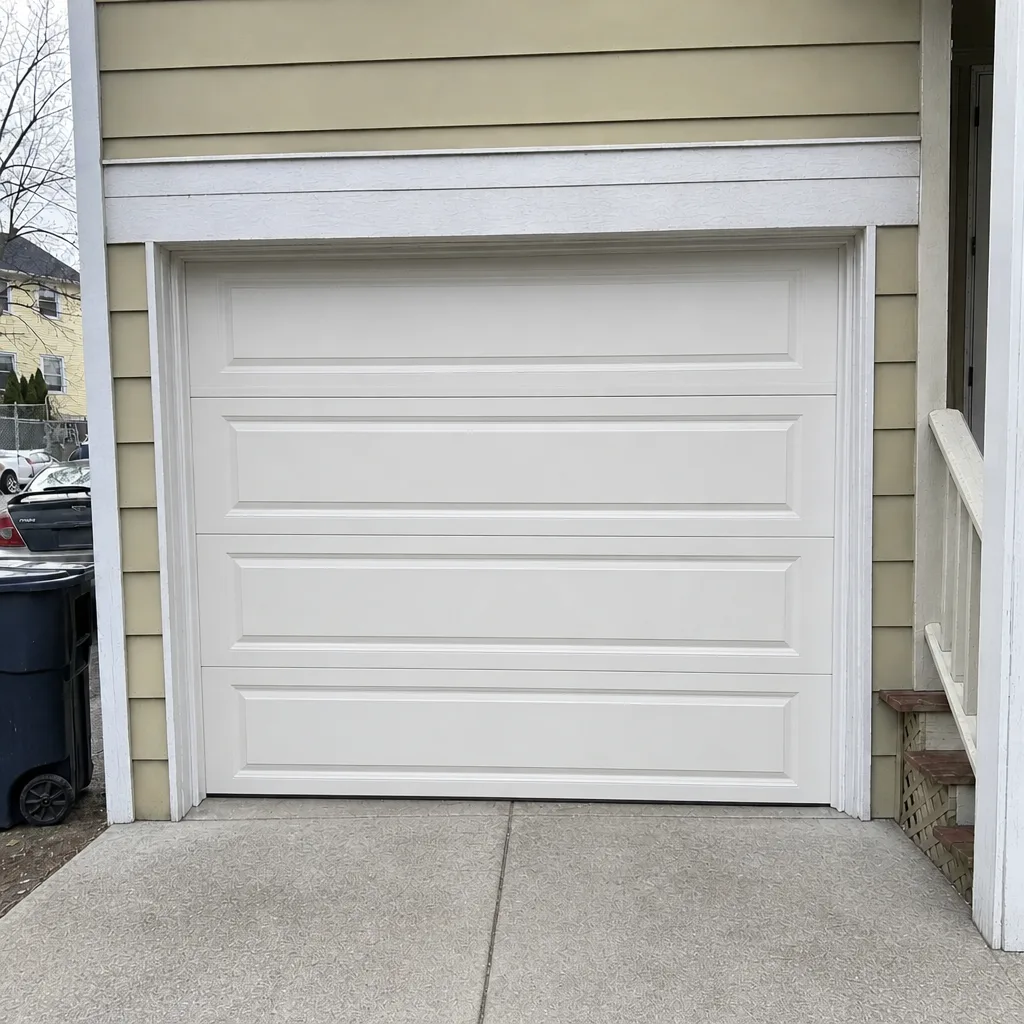 After
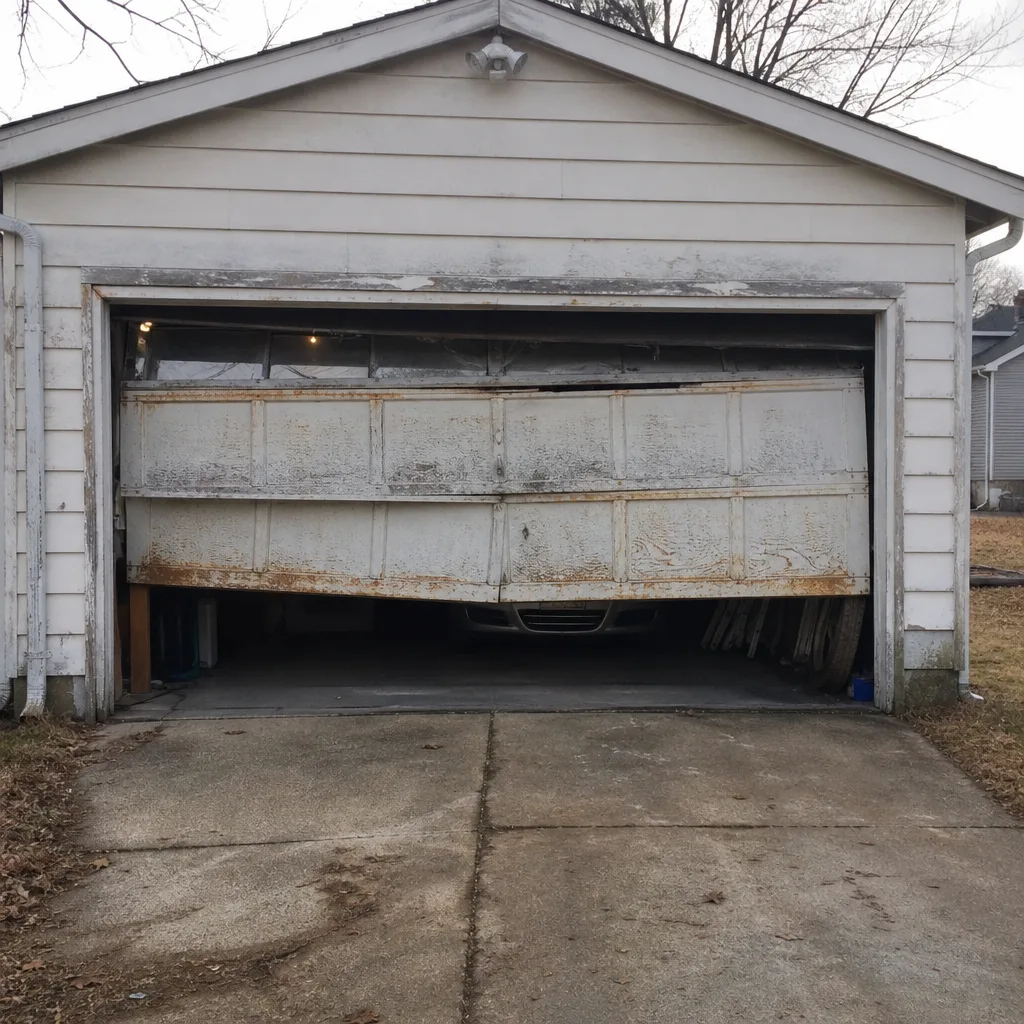 Before
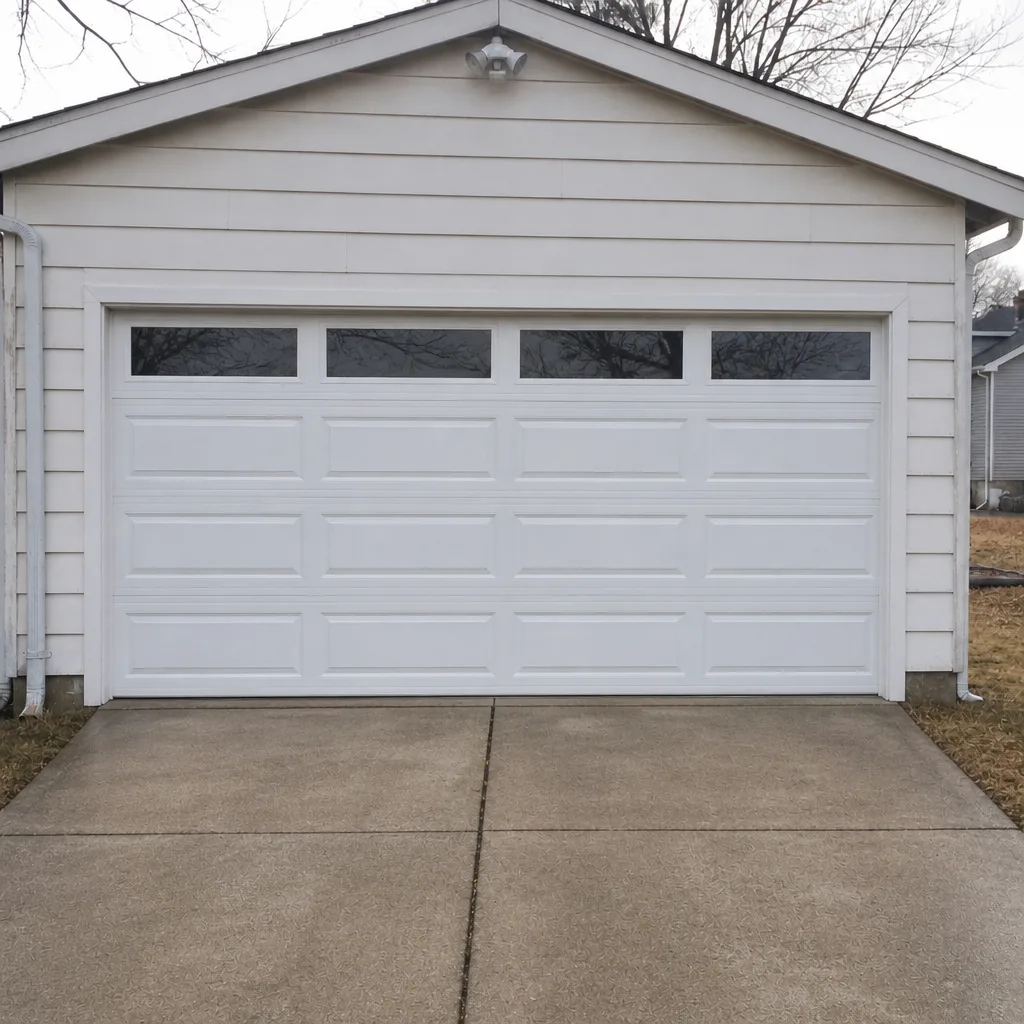 After
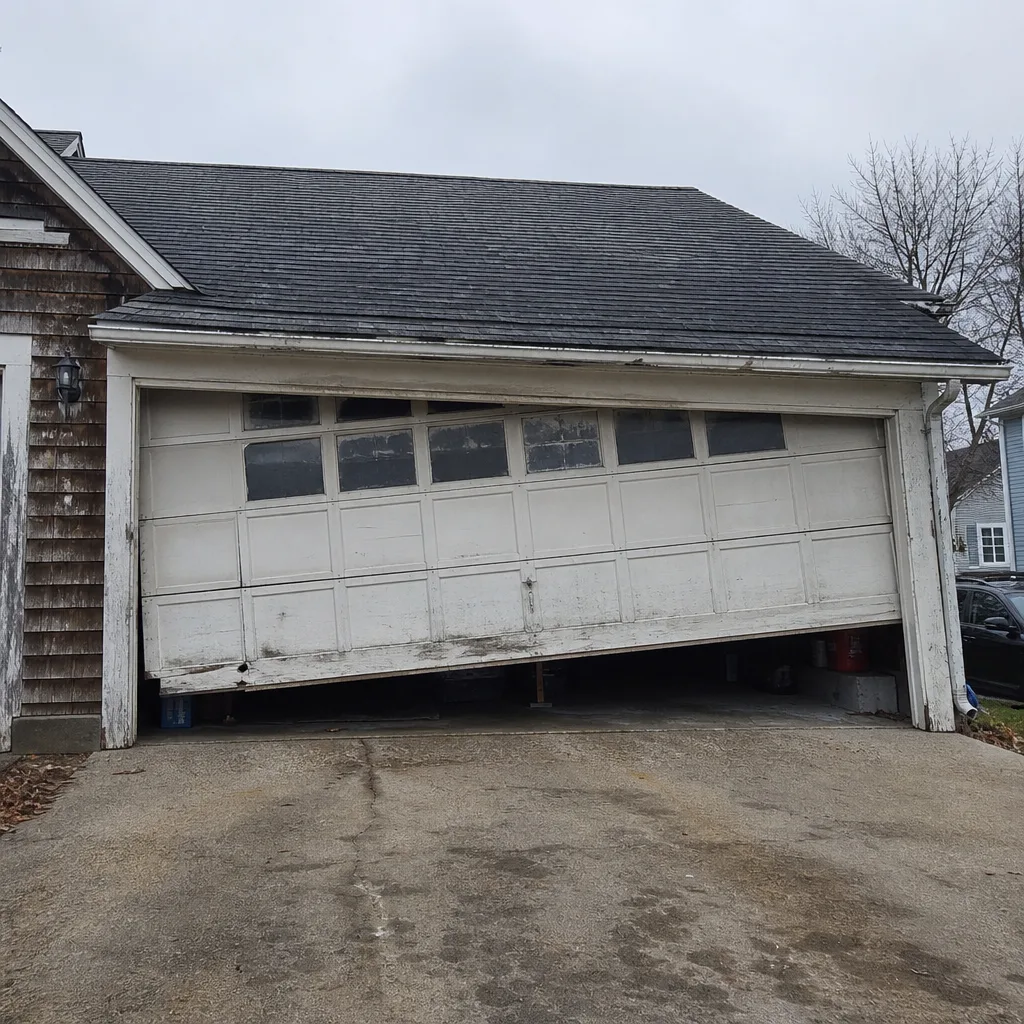 Before
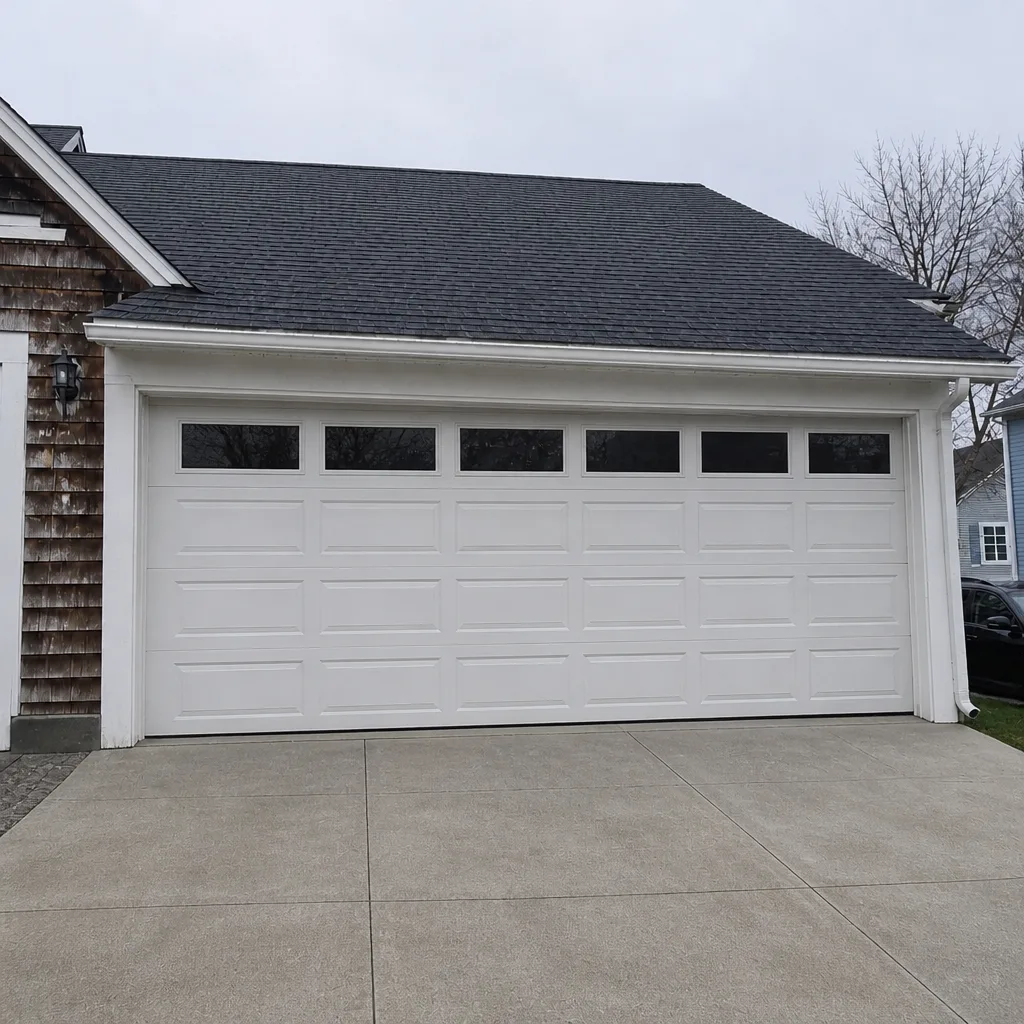 After
Common Mistakes to Avoid
- Skipping the post-winter salt cleanup. Lubricating a door that still has salt residue just traps the grit in place. Clean first, lubricate second.
- Spraying WD-40 on nylon rollers. It’s a common habit and it shortens roller life. Use silicone only.
- Greasing the tracks. Tracks should be clean and dry. Grease in a track attracts grit and makes the door harder to operate over time.
- Ignoring surface rust on a spring. A little rust is normal, but flaking or deep pitting is a warning. Have a technician look before it fails.
- Adjusting the force limit without testing it. Turning up the force to make a heavy door move can mask a spring problem and disable a safety feature. Fix the cause, not the symptom.
- Forgetting the monthly auto-reverse test. The one safety test that matters most is the one most often skipped. It takes two minutes.
- Waiting until something breaks to look. In Dorchester, a spring that’s been corroding for a season doesn’t announce itself until it snaps. A spring inspection catches the early signs.
When to Call a Professional
Some jobs are for a technician, full stop. Call us if the door is balanced unevenly, if you see rust flaking on the springs, if the door reverses without contacting anything, if the opener’s force limit needs constant readjustment, if a cable looks frayed or slack, if the door has come off its track, or if the door is too heavy to lift by hand with the opener released. Any of these points to wear that a visual inspection can’t resolve.
Garage Door Repair Dorchester offers free estimates in Dorchester, and the price is quoted and agreed before any work starts. Call (855) 500-4346. We answer 24/7. Fast dispatch from 7am to 7pm, Sunday through Friday. Our technicians have up to 12 years of experience, and we work on the brands you’ll find in most Dorchester garages, including LiftMaster, Chamberlain, Genie and Clopay. When you need a reliable Garage Door Repair Dorchester team that knows your door and your opener, one call covers both.
Frequently Asked Questions
Once a year is the baseline, ideally in early spring after the salt season ends, with a monthly safety test you can do yourself. In Dorchester, the post-winter inspection matters more than a fall tune-up because salt corrosion is the biggest wear factor. A door that gets heavy use or sits on a heavily salted street may warrant a second look mid-year.
No. Torsion and extension springs store enough energy to cause serious injury if they release unexpectedly, and the winding process requires specific tools and knowledge. Even experienced DIYers should not attempt it. A trained technician can do the job safely and set the door back to proper balance afterward.
Silicone-based lubricant is the safest all-purpose choice for Dorchester’s cold winters, especially on nylon rollers and rubber seals. Avoid petroleum-based products on nylon and on rubber weatherstripping, and never grease the tracks. A light coat on hinges, the torsion shaft and seals is enough.
Look for rust flaking or deep pitting on the coils, a door that feels heavier than usual to lift by hand, uneven opening, or a door that only opens a few inches before stopping. Any of these means the springs have lost tension or are corroding. Have a technician inspect before using the door again.
It checks that the door reverses direction within about two seconds of contacting an object, using a 2×4 laid flat in the doorway. A door that stops without reversing, or reverses too late, has a force-limit or safety-reverse problem. Test monthly and call for service if it fails.
Permit requirements vary, so ask the City of Boston’s building department before scheduling a door replacement. A new door that changes the opening’s size or structure may require one, while a same-size replacement often doesn’t. When in doubt, confirm with the city before work begins. For a free estimate on repair or replacement, call (855) 500-4346. We answer 24/7. Fast dispatch from 7am to 7pm, Sunday through Friday.
The Bottom Line
A maintenance checklist works when it’s timed to what actually wears your door. In Dorchester, that means a serious post-winter salt inspection, a pre-freeze lubrication pass, and a monthly safety test you can do in two minutes. Keep the log, know which jobs are safe for you, and call a technician for anything involving springs, cables or opener wiring. Our technicians have up to 12 years of experience, and we handle spring repair, opener work, parts and installation. Call (855) 500-4346 for a free estimate and a written price before any work starts.
Written by the team at Garage Door Repair Dorchester.